Have you ever seen a colorful, decorative emblem on someone’s jacket or backpack and wondered how it got there? Or maybe you have a hole in your favorite pair of jeans and you want to cover it. Well then, you need a patch! They come in all sorts of shapes, sizes, and colors, and they serve various purposes. In this article, we’re going to learn how to sew on a patch so that you can fix or personalize your own clothes or accessories!

Sewing on a patch might seem like a simple task, but it’s important to do it right to ensure that your patch stays securely attached. After all, you wouldn’t want the hole to open up again or your favorite patch to fall off and get lost, would you? So, we’ll guide you through the steps to make sure your patch stays in place for a long time. Get ready to unleash your creativity and bring your favorite designs to life with this fun and practical sewing skill! Let’s dive in and learn how to create a patch and sew it on securely.
What is a Patch?
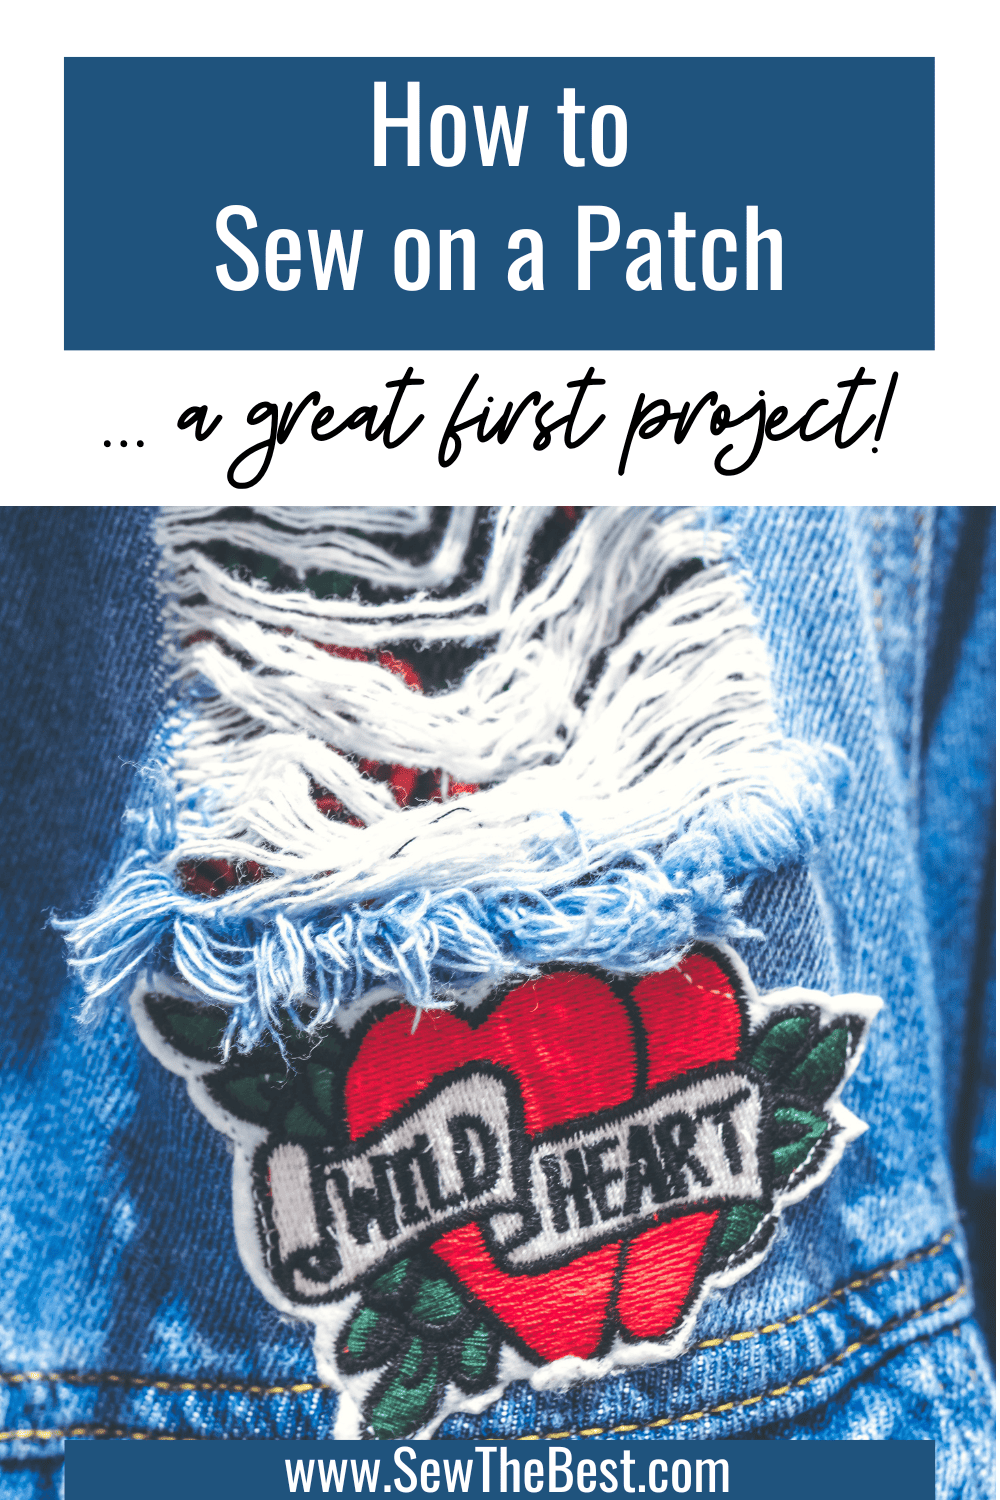
A patch is a smaller piece of fabric that you attach to another, main piece of fabric. Patches can be decorative. You can add a patch on to express your personality or what you like. Patches can also be added to cover a piece of fabric that is wearing out or that has a hole in it. Another reason to add a patch is to cover and protect a piece of fabric that will see a lot of wear and prevent a hole from happening. So, patches can serve multiple purposes; style, fixing a hole, or protecting something from developing a hole.
Materials to Sew a Patch
For adding a patch, you’ll need some basic materials:
- Patch
- Fabric
- Needle or Sewing Machine
- Thread
- Scissors
- Pins
Find a Patch
The first step in sewing a patch on fabric is to find a patch that you like. There are many different patches available. Patches can be embroidered or be just a plain piece of material. Patches can be fabric, leather, or any other material. The most important thing that a patch needs it to be is big enough for your project, and something that you like. Some patch materials can be harder to work with. Vinyl and leather can have specialized sewing techniques required to use them. If you are a beginning sewer, a fabric or an embroidered patch is going to be easier to work with.
Adjust the Patch Size
If you are not using an embroidered or ready made patch, you may need to adjust your patch size. If your patch is significantly larger than what you need, you’ll need to make it smaller. You can do this by cutting the material or folding it over. If your patch is purely for decorative purposes then you can have it be whatever size you want. If you are using your patch to cover a hole or weak spot then you will want to make sure that your patch is larger than the weak spot. In general, you’ll want your patch 1″ larger than the hole, or large enough that it can reach non worn fabric all the way around the hole. Be sure that you either serge the edges of your patch, sew over the edges of your patch with a zig-zag stitch or a satin stitch, or fold and whip-stitch the edges over if you are hand sewing. Protecting the edges of your patch fabric will go a long way to making it more durable.
How to Sew a Patch
To attach your patch, you’ll want to start with placing it roughly where you want it. Make sure that your patch is in a good position, then pin it in place so that it won’t move while you’re sewing it. Alternatively, you can use fusible webbing to position and hold your patch in place – but you will still want to sew it on too!
For sewing your patch on, you can choose to either machine sew it, or hand sew it. For machine sewing your patch, you’ll want to do a straight stitch around the edge to hold your patch down. For hand sewing, you’ll want to whip stitch around the edge of the patch to hold it down. For extra security, you might want to go around your patch a second time with a whip stitch or a satin stitch, especially if you are reinforcing or patching a hole in your fabric.
After your patch is sewn down, it’s time to get decorative! The sky is the limit here, with the only goal being to make sure the patch is attached securely and looks how you want. So whip out those fancy decorative machine stitches or those embroidery stitches you always wanted to try.
FAQ
Can you sew on iron on patches?
Yes! You can sew on iron on patches. For iron on patches, iron them on as you normally would. Then sew through the patch and the material you have it attached to. You might need to use a thicker needle and be sure to use a thimble to be able to go through the patch and the heavy glue used.
Is it better to iron or sew on patches?
Both! You can choose to iron on a patch or sew on a patch. For more durability, we recommend reinforcing ironed on patches with sewing. It would be a shame for your item to have it’s patches fall off because the glue failed.
Can you attach a sew on patch without sewing?
Being able to attach a sew on patch without sewing depends on the patch itself and the material you are applying the patch to. To apply a sew on patch without sewing you would want to use iron on glue called fusible webbing. You would need to make sure that your patch and the fabric you are applying the patch to could withstand being ironed with a very hot iron ( it needs to be hot enough to melt the glue! ). You simply take a layer or two of fusible webbing and sandwich it between your patch and your fabric. Make sure that none of the fusible webbing sticks out. Then iron your patch onto your fabric, using a pressing cloth to protect your patch. Once the glue is hot enough, it’ll melt and stick your patch onto your fabric.
Summary
Congratulations! You’ve learned how to sew on a patch like a pro. Now that you have the knowledge and skills, it’s time to get creative! Don’t be afraid to experiment with different patches and fabrics, mix and match colors, and showcase your unique style. Whether you’re adding patches to your favorite jacket, backpack, or even a special craft project, remember that practice makes perfect. The more you sew on patches, the better you’ll become.
So, gather your materials, set up your workspace, and enjoy the process of bringing your patches to life. Get ready to show off your personalized creations to the world! Happy sewing, and have fun expressing yourself through the art of patch-sewing!
Related Posts
- Looking for another great starter project? Check out how to sew a pillowcase!
- Buying a beginner sewing machine? Check out the best sewing machines for beginners!